What Is Gelcoat Oxidation, and Why Does It Hit Hardest in Spring?
Spring gelcoat restoration is the process of removing the chalky, degraded surface layer that forms on a boat's fiberglass hull after months of winter storage, then sealing the restored surface against future UV damage. Factory-applied gelcoat is typically 15 to 20 mils thick, according to West Marine's Advisor guide on gelcoat care, giving you a finite but workable restoration window over the boat's lifetime. Winter inflicts a triple threat — moisture from trapped condensation hydrolyzes the resin, freeze-thaw cycles create micro-cracks, and UV penetrating covers continues cumulative degradation. The result is more oxidation developing over five months of storage than during an entire summer of active use with proper wash-and-wax routines. Restoring gelcoat in spring requires assessing severity (from light haze to heavy chalking), choosing the right combination of compound and polish, and applying UV-protective sealant to lock in the results through the boating season.
Gelcoat oxidation is the chemical breakdown of your hull's polyester resin surface layer caused by ultraviolet radiation, moisture, and oxygen. UV energy breaks the polymer chains in the gelcoat matrix, producing a chalky, faded layer of degraded resin on the surface. What is gelcoat oxidation in practical terms? It's your boat losing its color, gloss, and protective barrier one molecule at a time.
I pull tarps off boats every March, and the pattern repeats: an owner who waxed in September assumes the hull is protected. Then spring arrives, they peel back the cover, and the gelcoat looks ten years older than it did five months ago. Every repair I do started as maintenance somebody skipped, and spring gelcoat restoration is the single most common job in my shop from March through May.
This guide walks through the full process I use on customer boats: assessment, product selection, restoration technique (light and heavy), color-specific considerations, and protection to keep the results through the season. If you're putting together a full spring boat prep checklist, gelcoat restoration belongs near the top.
Why Does Winter Accelerate Gelcoat Oxidation?
Most boat owners think winter storage protects the hull. It doesn't. Winter inflicts three specific types of damage that accelerate oxidation faster than summer sun alone.
How Do Freeze-Thaw Cycles Damage Gelcoat?
Water finds every micro-crack in gelcoat. When temperatures drop below 32°F, that water expands by roughly 9% as it freezes. The expansion widens existing cracks and creates new ones. When it thaws, water penetrates deeper. Over a winter with 30 or 40 freeze-thaw cycles, gelcoat that had hairline surface cracks in October has a network of channels feeding moisture straight to the laminate by March.
I pulled a 2019 Boston Whaler out of outdoor storage last spring. The owner had skipped fall wax. The gelcoat had over 200 visible micro-cracks on the starboard bow alone, all developed over one New England winter. That's structural damage that started as a cosmetic oversight.
Does UV Penetrate Winter Covers?
Standard poly tarps block a portion of UV radiation, but West Marine recommends purpose-built covers with UV-stabilized fabric because basic tarps still allow significant UV penetration. Whatever gets through hits the gelcoat for five or six months straight. Low winter sun angles in northern latitudes mean UV strikes the topsides at a more direct angle than people expect. Shrink-wrap performs substantially better than standard tarps at blocking UV, but no cover blocks it all.
The kicker: UV degradation is cumulative. Six months of reduced UV through a tarp adds to the damage already in the gelcoat from previous seasons. Each winter compounds the last.
What Role Does Moisture Play in Winter Oxidation?
Moisture is the overlooked accelerator in winter gelcoat degradation. Condensation forms under covers daily as temperatures swing between daytime highs and overnight lows, keeping the gelcoat surface perpetually damp. This trapped moisture does two things: it hydrolyzes the ester linkages in the polyester resin, weakening the molecular structure, and it carries dissolved oxygen deeper into the gelcoat matrix than dry-air exposure would allow. Marine industry research presented at events like the International Boatbuilders' Exhibition and Conference (IBEX) confirms that moisture-assisted oxidation progresses significantly faster than dry oxidation. A boat stored outdoors through a humid winter can develop more surface degradation than one used hard all summer with proper wash-and-wax routines.
How Do You Assess Gelcoat Oxidation Severity?
Before you buy products or break out a polisher, you need to know what you're dealing with. I use a two-part assessment: the hand-wipe test and visual grading.
What Is the Hand-Wipe Test?
Wet a 12-inch square section of the hull with fresh water. Wipe it dry with a clean white microfiber towel. Now look at the towel. If it picked up a white or colored chalky residue, that's oxidized gelcoat transferring off the surface. The amount tells you how deep the damage goes.
Light dusting on the towel: surface oxidation only. Heavy colored residue where the towel changes color: the oxidation has eaten through the glossy surface layer into the pigmented gelcoat beneath.
How Do You Grade Oxidation from 1 to 5?
I use a five-point scale in my shop. Here's how to match what you're seeing:
| Grade | Visual Appearance | Towel Test Result | Restoration Method |
|---|---|---|---|
| 1 | Slight haze, gloss reduced | Faint residue | Hand polish only |
| 2 | Noticeable dullness, color faded | Light chalky residue | Machine polish, one stage |
| 3 | Flat appearance, definite chalk | Moderate colored residue | Compound + polish |
| 4 | Heavy chalk, color significantly faded | Heavy colored residue | Wet sand 1500 + compound + polish |
| 5 | Chalking with surface cracks or crazing | Residue with grit texture | Professional respray likely needed |
Grade 1-2 is what I see on boats that were waxed in fall but stored under tarps. Grade 3-4 shows up on boats that skipped fall protection or sat uncovered. Grade 5 means the owner has been skipping maintenance for multiple seasons, and we're past the point of restoration into repair territory.
Run this assessment on multiple hull sections. The side facing south will almost always grade worse than the north-facing side. Horizontal surfaces (deck, hardtop) oxidize faster than vertical ones because they catch more UV and hold more standing water.
How Do You Restore Light Oxidation (Grade 1-2)?
Light oxidation is the sweet spot: minimal effort, dramatic results. A single-stage process handles it.
What Products Work for Light Oxidation?
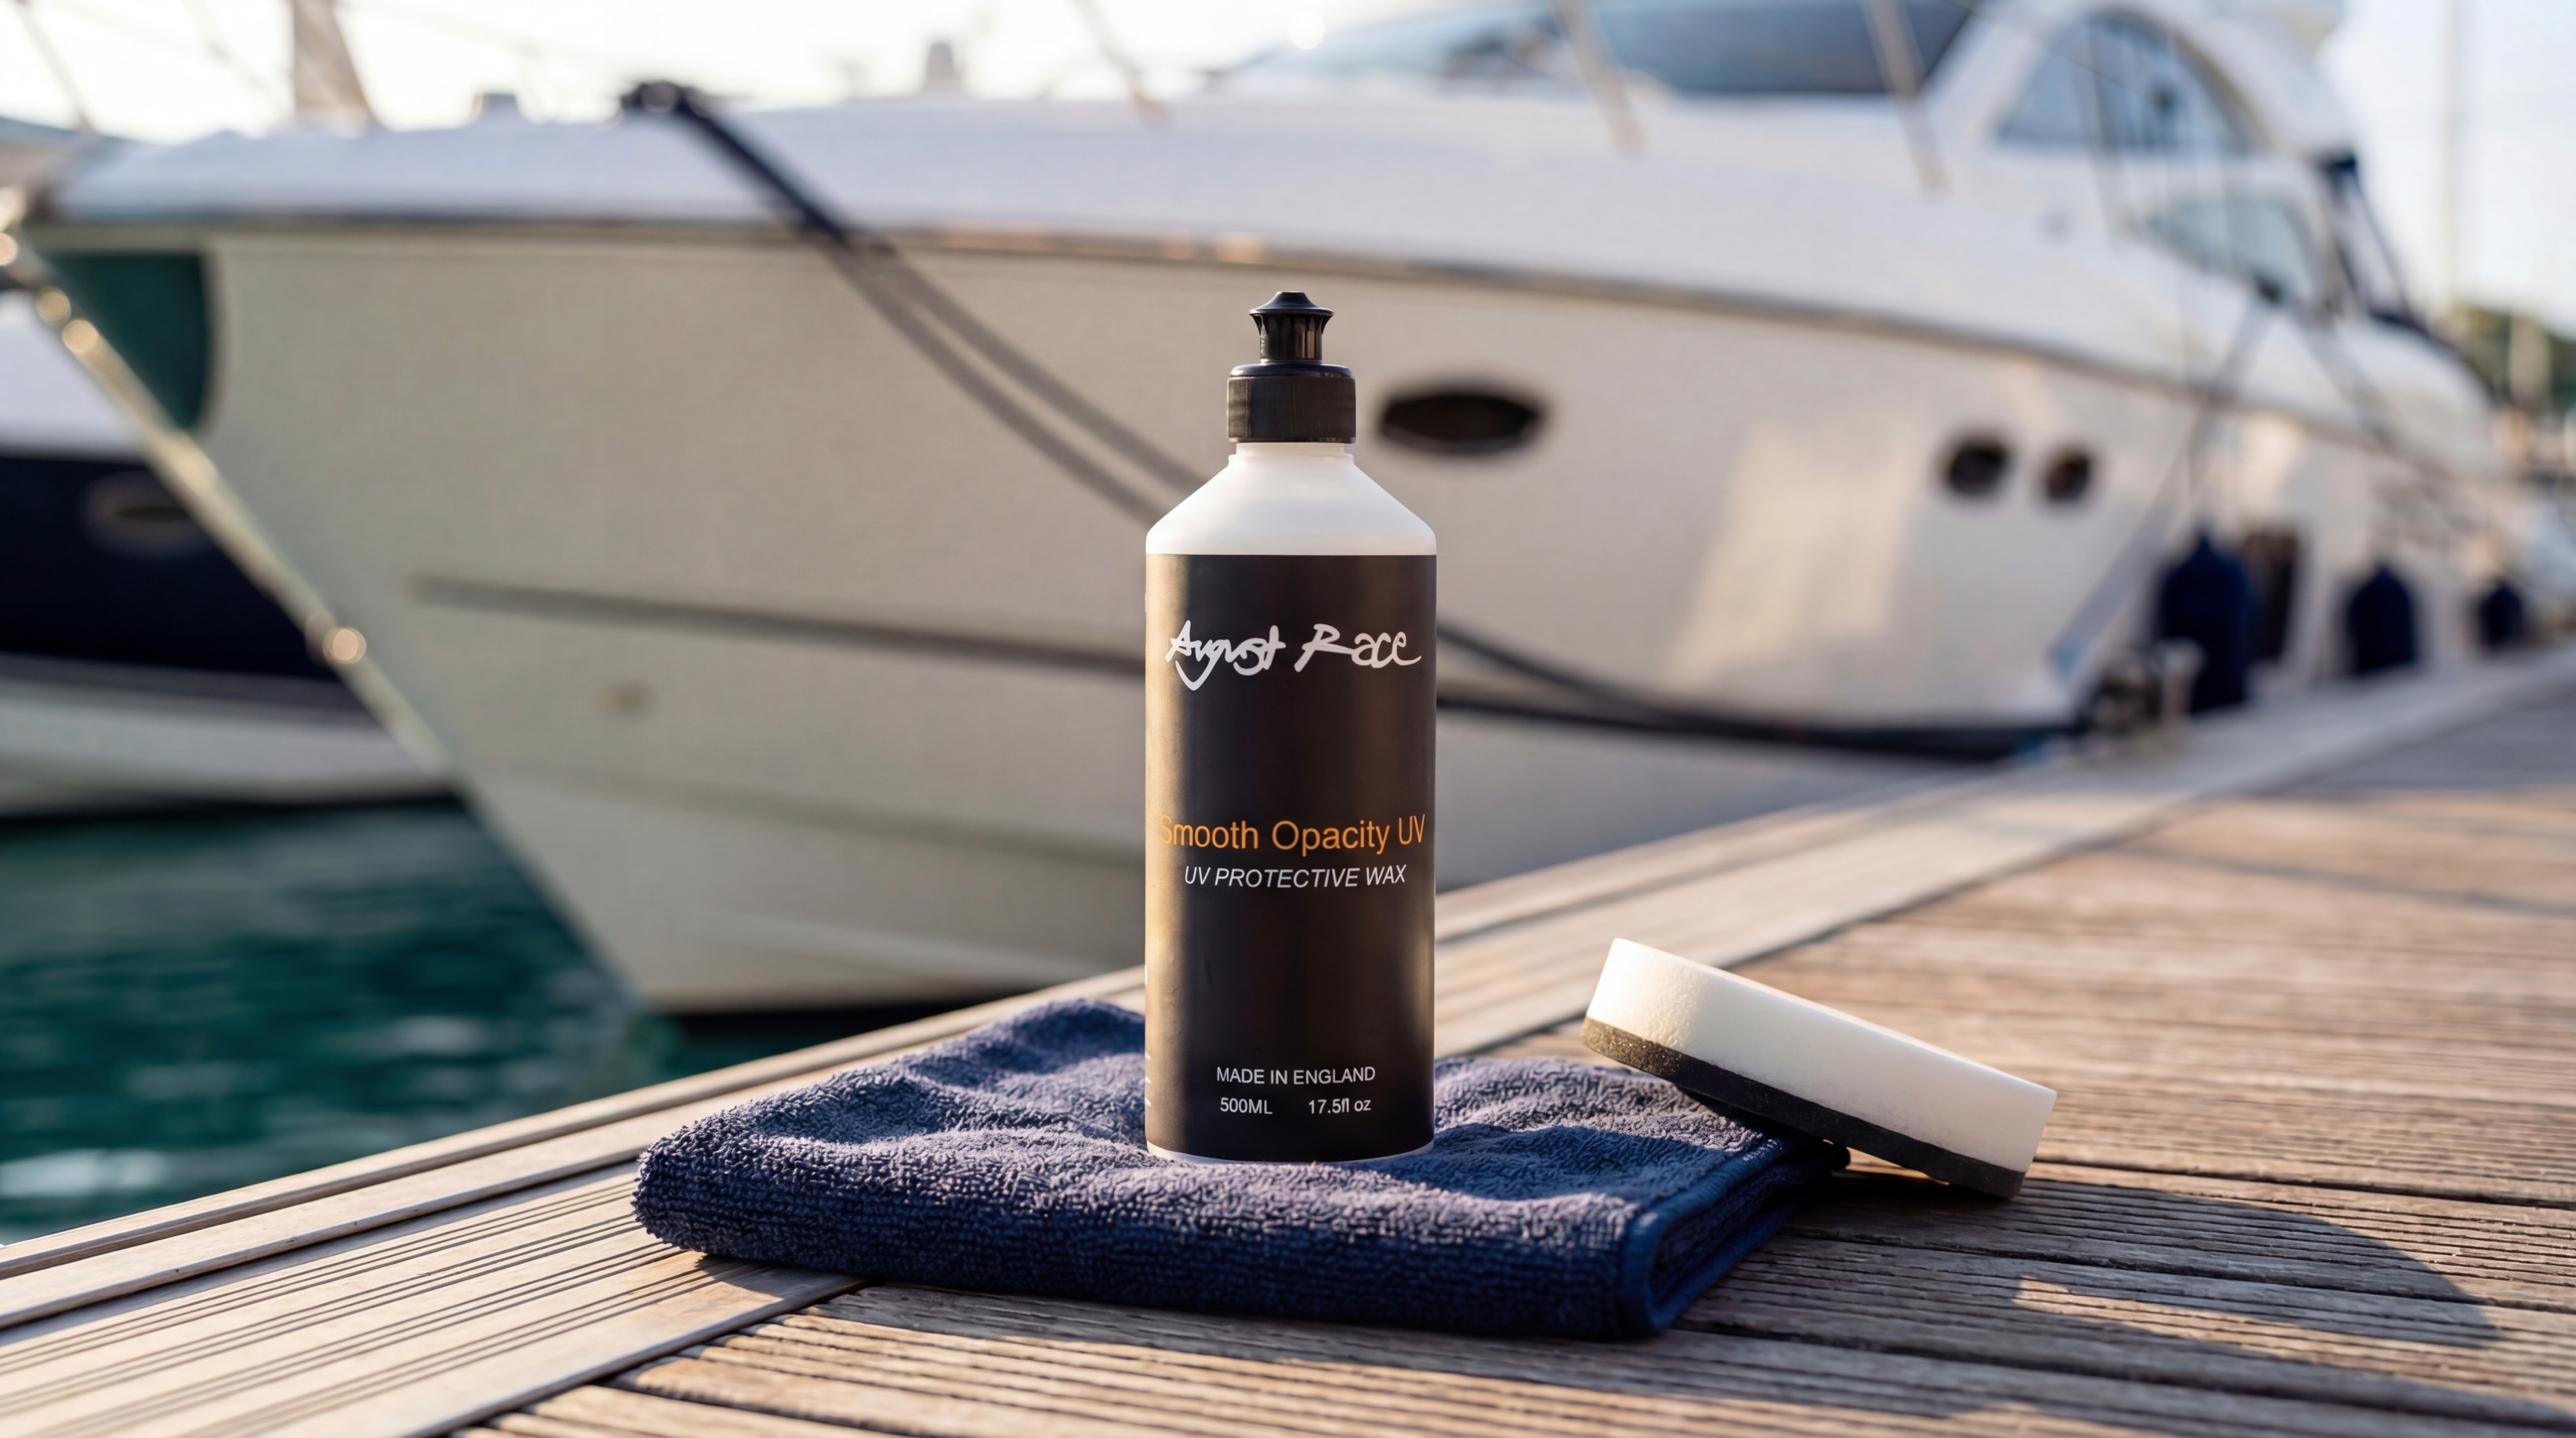
You need three things: a restorer/cleaner, a sealant, and a wax. For the restorer step, I reach for Smooth Opacity UV first. It's a restorer that cuts through the oxidized layer without heavy abrasion. On Grade 1-2 gelcoat, Smooth Opacity UV does the work of a compound and polish in one step.
For protection after restoration, GRP Sealer UV locks in the finish with UV inhibitors that slow down the next round of oxidation. Top it with Smooth Opacity UV as your sacrificial wax layer. More on the protection stack later.
How Do You Apply by Hand?
For Grade 1 oxidation, hand application works fine:
- Wash the hull with a marine-specific soap. No dish detergent: it strips any remaining wax and leaves surfactant residue.
- Dry the hull completely. Water trapped under product causes streaking.
- Apply Smooth Opacity UV to a foam applicator pad. Work in 2-foot by 2-foot sections using overlapping circular motions.
- Let the product haze for 30-60 seconds (you'll see it turn cloudy).
- Buff off with a clean microfiber towel, flipping the towel frequently.
- Inspect. The surface should feel glass-smooth and show improved gloss.
When Should You Use a Machine Polisher?
Grade 2 oxidation responds better to machine polishing. A dual-action (DA) polisher with a medium-cut foam pad gives you consistent results without the risk of burning through gelcoat that a rotary carries.
Settings matter. Start at 3,000-4,000 OPM (orbits per minute) with moderate pressure. Let the machine do the work. If you're pressing hard enough to slow the pad, you're pressing too hard. Work the same 2-foot squares, keeping the pad flat against the surface. Tilting the pad concentrates force on one edge and creates swirl marks or uneven cuts.
The critical difference between hand and machine polishing for gelcoat restoration is heat and consistency. A dual-action polisher operating at 3,500 OPM generates controlled friction that softens the oxidized surface layer, allowing the abrasive particles in the restorer to level it evenly. Hand application relies on arm pressure alone, which varies across every stroke. On Grade 2 oxidation, machine polishing removes the degraded layer in one pass where hand polishing might need three or four passes to achieve the same result, each pass risking uneven removal. For gelcoat specifically, uneven removal matters more than on automotive clear coat because gelcoat has no separate base layer underneath: remove too much in one spot and you expose raw laminate. Machine polishing distributes the cut uniformly, reducing that risk.
How Do You Restore Heavy Oxidation (Grade 3-4)?
Heavy oxidation calls for a multi-stage approach. This is where patience pays off and shortcuts cost money.
What Does the Wet Sanding Stage Involve?
Grade 4 oxidation has a degraded surface layer too thick for compound alone to cut through efficiently. Wet sanding with 1500-grit paper removes that dead layer mechanically before you switch to chemical cutting with compound.
Here's my process:
- Soak the sandpaper in water for 15 minutes before starting.
- Use a sanding block on flat surfaces. Freehand sanding creates uneven pressure and low spots.
- Keep the surface flooded with water from a spray bottle. Dry sanding generates heat that can crack gelcoat.
- Sand in straight, overlapping passes. Never sand in circles on gelcoat: circular scratches are harder to polish out than linear ones.
- Wipe the surface dry and inspect. You should see a uniform matte finish with no shiny spots (shiny spots mean the sanding missed those areas).
- Move to 2000-grit for a second pass. This refines the scratch pattern so compound can finish the job.
For Grade 3 oxidation, you can skip wet sanding and start with heavy-cut compound. The degraded layer is thin enough for chemical cutting alone.
What's the Compound and Polish Sequence?
After wet sanding (or starting here for Grade 3):
- Heavy-cut compound with a wool or microfiber cutting pad on a DA polisher, 4,000-5,000 OPM. This removes the sanding scratches and the remaining oxidized material.
- Wipe residue with a damp microfiber.
- Medium-cut polish with a medium foam pad, 3,000-4,000 OPM. This refines the finish to a high gloss.
- Wipe and inspect under direct light. Look for haze, swirl marks, or dull patches. Address any problem areas before moving to protection.
A full Grade 4 restoration on a 28-foot boat takes me 12-16 hours. That's not a weekend afternoon project. Plan accordingly, or break it into sections across multiple days. Gelcoat doesn't care if you compound the port side on Saturday and starboard on Sunday.
What Mistakes Ruin a Heavy Restoration?
Three things I see go wrong on DIY heavy restorations:
Skipping grits. Jumping from 1000-grit sandpaper straight to polish leaves deep scratches that show up the moment you apply sealant. Each grit step refines the previous scratch pattern. Skip a step, and those scratches are permanent without starting over.
Working in direct sun. Compound and polish dry too fast in direct sunlight, creating residue that bonds to the surface. Work in shade or start early. Ideal gelcoat temperature for restoration is 60-80°F. Above 90°F, products behave differently and flash too quickly.
Not decontaminating between stages. Compound residue left on the surface before polishing embeds abrasive particles into the polish step, creating scratches instead of removing them. Wipe thoroughly between every stage with a clean, damp microfiber.
How Does Gelcoat Color Affect Restoration?
White and colored gelcoat respond differently to oxidation and require adjusted techniques.
What's Different About White Gelcoat?
White gelcoat contains titanium dioxide pigment, which is itself a UV reflector. This gives white hulls a natural advantage: they oxidize slower than colored hulls under identical conditions. The tradeoff is that white shows waterline staining, rust streaks, and yellowing that colored gelcoat hides.
On white hulls, destaining capability matters as much as cutting action. Apply your restorer at the waterline first, where tannin and mineral staining concentrates. You'll see the staining lift before the polishing even begins.
What About Dark or Colored Hulls?
Dark-colored gelcoat presents specific challenges during spring restoration because pigment particles absorb UV energy that white titanium dioxide reflects. A dark blue or black hull absorbs substantially more UV radiation than a white hull, which reflects most incident energy. According to Practical Sailor, dark gelcoat degrades faster than white in long-term exposure testing. This accelerated absorption breaks polymer chains faster, producing more severe oxidation in less time. During restoration, dark gelcoat also shows machine swirl marks more readily because light refracts differently against dark pigment. Use a finishing polish and a soft foam pad as a final step on any colored hull, even if the oxidation was light enough for single-stage treatment on a white boat. The extra step adds 30 minutes to the job but prevents visible swirl marks that catch sunlight and make the restoration look amateur.
Red gelcoat deserves special mention. Red pigments (iron oxide-based) are the least UV-stable colors used in marine gelcoat. I've seen red hulls fade from cherry to pink in a single unprotected season. If you own a red boat, fall wax isn't optional. It's the difference between restoration and respray.
How Long Do Spring Gelcoat Restoration Results Last?
I'll give you real numbers from boats I track in my shop's records, not marketing claims.
What Results Can You Expect by Grade?
| Starting Grade | Post-Restoration Gloss (GU) | Duration Without Protection | Duration With Sealant + Wax |
|---|---|---|---|
| Grade 1 | 75-85 GU | 3-4 months | 10-14 months |
| Grade 2 | 70-80 GU | 2-3 months | 8-12 months |
| Grade 3 | 60-75 GU | 6-8 weeks | 6-10 months |
| Grade 4 | 50-65 GU | 4-6 weeks | 4-8 months |
GU stands for gloss units, measured with a 60-degree gloss meter. New gelcoat from the factory measures 80-90 GU. Anything above 60 GU looks good to the eye. Below 50 GU, the surface appears flat and dull.
The pattern is clear: protection is the multiplier. A Grade 2 restoration that took three hours of work lasts two months unprotected or close to a year with proper sealant and wax. Skipping protection after restoration is the most expensive mistake in gelcoat maintenance because you'll repeat the entire process next spring.
Why Does Protection Matter More Than the Restoration Itself?
The restoration removes damage. The protection prevents new damage. Without protection, the freshly exposed gelcoat you just revealed is more vulnerable than the oxidized layer you removed, because oxidized gelcoat actually acts as a crude UV barrier for the material beneath it. A detailed explanation of UV protection for marine surfaces covers the science behind this.
How Do You Protect Your Restoration Through the Season?
Protection is a two-layer system: sealant for adhesion and UV blocking, wax for water repellency and sacrificial wear.
What's the Right Protection Stack?
After your restoration polish, while the gelcoat is clean and free of residue:
- Apply GRP Sealer UV with a foam applicator. Thin, even coat. Let it cure for the time specified on the label (temperature affects cure time: cooler days need longer).
- After full cure, apply Smooth Opacity UV as the wax layer. This is your sacrificial coat: it takes the UV hit and the wash abrasion instead of your sealant and gelcoat.
The sealant bonds to the gelcoat and lasts 4-6 months in northern climates, longer if the boat isn't in constant sun. The wax sits on top and needs refreshing every 6-8 weeks during active use. Reapplying wax is a 45-minute job. Reapplying sealant means stripping the old wax first, so maintain that wax layer and you extend the sealant's working life.
For a detailed walkthrough on sealant technique, see the fiberglass sealant application guide. For a full comparison of wax vs. sealant vs. ceramic options, see our spring boat waxing guide.
What About Ceramic Coatings?
Ceramic coatings have entered the marine market, and I get asked about them weekly. They work. A quality marine ceramic provides 12-18 months of UV protection with high water repellency. The catch: surface preparation is more demanding (the gelcoat must be near-perfect before application), the products cost more, and application mistakes are harder to fix because ceramics resist chemical removal once cured.
For most boat owners doing annual spring restoration, the sealant-plus-wax stack gives 90% of the ceramic's protection at 40% of the cost and with a much more forgiving application process. Ceramics make sense on new boats or freshly painted hulls where you're protecting a perfect surface.
Monthly Maintenance to Extend Results
Between restorations, a simple monthly routine keeps oxidation at bay:
- Wash with pH-neutral marine soap. Avoid anything alkaline: it strips wax.
- Inspect the water behavior. If water sheets instead of beading, the wax layer is gone. Reapply.
- Spot-treat any stains immediately. Bird droppings, tree sap, and dock runoff are acidic and etch through wax into sealant within days.
- Keep the boat covered when not in use. Even a loose-fitting cover cuts UV exposure by half.
This routine takes 90 minutes per month on a 30-foot boat. Compare that to 12-16 hours of heavy restoration next spring because you skipped it.
Frequently Asked Questions
Can I Restore Gelcoat Oxidation by Hand Without a Machine Polisher?
Yes, for Grade 1-2 oxidation. A foam applicator pad and a quality restorer like Smooth Opacity UV will handle light haze. Grade 3 and above needs machine compounding to generate enough friction and heat to level the degraded surface. Hand polishing heavy oxidation wastes product and hours without producing lasting results. If you don't own a DA polisher, renting one for a day costs $40-60 at most tool rental shops and saves you significant time and frustration.
How Do I Know If My Gelcoat Is Too Far Gone for Restoration?
If you can press a fingernail into the surface and it leaves an impression, or if the gelcoat has cracked into a spider-web pattern (crazing), restoration won't hold. At that point the gelcoat layer is structurally compromised and needs professional respray, which typically costs several thousand dollars for a mid-size boat depending on color matching and hull condition. Chalking alone, even heavy chalking, is usually restorable. The hand-wipe test and grading system above will tell you where you stand.
How Often Should I Reapply Sealant and Wax After a Spring Restoration?
In northern climates with moderate UV, a ceramic-hybrid sealant like GRP Sealer UV lasts 4-6 months. Add a wax layer like Smooth Opacity UV every 6-8 weeks during boating season. In southern states (Florida, Texas coast, the Gulf) with intense sun and salt exposure, cut those intervals by about a third. A quick water-bead test tells you when protection has worn through: spray the hull with a hose and watch whether water beads up or sheets off.
How Thick Is Gelcoat, and How Many Restorations Can It Handle?
Factory gelcoat thickness is typically 15 to 20 mils. Each compounding session removes approximately 0.5 to 1 mil of material, meaning a well-maintained boat can handle 10 to 15 restoration cycles before the gelcoat becomes too thin for further correction. UV radiation progressively degrades unprotected gelcoat from the surface inward over years of exposure, which is why consistent sealant application between restorations is so critical — it slows the rate at which you consume that finite gelcoat thickness. If your boat has been compounded aggressively for multiple seasons without protection between restorations, measure the remaining gelcoat with a coating thickness gauge before proceeding. Below 8 mils, switch to hand polishing only and prioritize sealant protection over correction.
Does Gelcoat Color Affect How Fast Oxidation Develops?
Dark-colored gelcoat absorbs more UV energy and oxidizes faster than white. Red and black hulls show chalking sooner, sometimes within a single season without protection. White gelcoat is more forgiving but shows waterline staining and yellowing that darker colors mask. Regardless of color, fall wax application before winter storage is the single highest-return maintenance task for preventing spring oxidation. Twenty minutes of wax in October saves hours of compounding in April.
How Thick Is Boat Gelcoat?
Factory-applied gelcoat is typically 15 to 20 mils (0.015 to 0.020 inches) thick. Each compounding session removes roughly 0.5 to 1 mil, so a boat can handle around 10 to 15 restoration cycles before the gelcoat becomes too thin and requires professional respray. See the detailed section above for guidance on measuring remaining thickness and when to switch to hand-only polishing.
What Is the Difference Between Gelcoat and Paint on a Boat?
Gelcoat is a polyester resin applied during manufacturing as an integral part of the fiberglass layup. Paint is applied over a cured surface. Gelcoat is thicker (15-20 mils vs 2-4 mils for paint), self-pigmented, and designed as a structural protective layer. Paint requires a primer and offers less UV resistance without clear coat.
Should I Use Ceramic Coating or Wax on Gelcoat?
For most boat owners, a sealant-plus-wax stack provides 90% of ceramic coating protection at 40% of the cost. Ceramic coatings last 12-18 months but require near-perfect surface prep and are harder to apply and correct. Sealant and wax are more forgiving and easier to maintain seasonally.
Mike "Wrench" Wilson is a certified marine technician with 18 years of experience in fiberglass repair and gelcoat restoration. He operates out of the Northeast and has restored gelcoat on over 1,200 vessels.
About the Expert

Mike 'Wrench' Wilson
Certified Marine Technician
Mike is a certified marine technician with 18 years in the trade. He's fixed enough expensive damage to know that prevention is always cheaper — and he'll tell you exactly why.
“Every repair I do started as maintenance somebody skipped.”
Get Expert Tips
Subscribe for marine care insights and product updates from industry professionals.
No spam. Unsubscribe anytime.
You May Also Like
Spring RIB & Inflatable Prep: Tube Cleaning and UV Protection
A charter captain's field guide to spring RIB prep, covering inflatable tube inspection, proper cleaning for Hypalon and PVC, and UV protection that prevents costly tube replacement.
Spring Boat Prep Checklist: The Complete Detailing Guide for Launch Season 2026
Step-by-step spring boat prep: hull cleaning, oxidation removal, sealant application, vinyl care, and final inspection. Get your boat launch-ready for 2026.
How to Clean Your Boat After Winter Storage
A marina manager's step-by-step guide to cleaning your boat after winter storage, covering exterior wash, interior mildew removal, and the mistakes that cause real damage every spring.