
Spring boat waxing is the process of applying a sacrificial carnauba or polymer-based protective layer to a fiberglass boat's gelcoat before launch season. The wax fills micro-pores in the gelcoat surface and creates a barrier that absorbs UV radiation, repels salt spray, and prevents waterline staining. According to Discover Boating (the NMMA's consumer resource), waxing is a core step in seasonal boat maintenance that preserves both the appearance and resale value of fiberglass vessels. Most marine industry professionals recommend waxing at least twice per year. According to BoatUS, applying a good boat wax at least once per year helps prevent dirt, bird droppings, and airborne contaminants from adhering to the boat's surfaces.
What Does Spring Boat Waxing Accomplish?
What does spring boat wax do for your hull? Spring boat waxing applies a sacrificial UV-blocking barrier over your gelcoat, shielding it from oxidation, salt spray, and waterline staining throughout the boating season. The wax layer absorbs environmental damage so your gelcoat does not. For fiberglass boats stored over winter, this pre-season step restores gloss and prevents the chalky fade that cuts resale value and makes owners cringe at the dock.
I run a detailing business in coastal Virginia. Every March, my schedule fills with boat owners who want their hulls looking sharp before splash day. After fifteen years of prep work and thousands of boats, I can tell you: the difference between a waxed hull and a neglected one shows up fast. By June, an unprotected boat looks two seasons older than it is. A properly waxed boat still beads water and holds its shine.
This guide walks through my exact process, from the first wash to the final buff. Whether you're doing this yourself in the driveway or deciding if it's worth hiring a pro, you'll know what good work looks like and what corners not to cut.
How Do Wax, Sealant, and Ceramic Coating Compare?
Before you crack open a tin of wax, you should know what you're choosing and what you're passing up. I use all three protection types depending on the client, the boat, and the budget. Here's an honest breakdown:
| Factor | Marine Wax | Synthetic Sealant | Ceramic Coating |
|---|---|---|---|
| Durability | 4-8 weeks | 4-6 months | 2-5 years |
| UV Protection | Moderate | High | Very High |
| Gloss/Depth | Warm, deep shine | Clean, reflective shine | Intense, glass-like shine |
| Application Difficulty | Easy (hand or machine) | Moderate (requires even application) | Difficult (surface must be flawless) |
| Cost per Application | $40-80 in product | $60-120 in product | $300-800+ professional install |
| Best Use Case | Seasonal boaters, DIY maintenance | Extended season, moderate budgets | Premium boats, multi-year protection |
| Reapplication | Every 4-8 weeks on water | Start and mid-season | Annual inspection, spot repair |
| Removal | Washes off gradually | Solvent or polish needed | Machine correction required |
Wax is the most forgiving option. If you make a mistake, you buff it off and start over. Sealants like GRP Sealer UV demand cleaner technique because uneven application shows. Ceramic coatings punish sloppy prep work; any contamination trapped under the coating stays there for years.
For most seasonal boaters launching in spring, wax is the right starting point. It costs less, teaches you good prep habits, and delivers visible results the same afternoon.
Which Type of Boat Wax Should You Choose?
If you've decided wax is your protection method, you still need to pick the right type. According to Practical Sailor, formulas high in carnauba wax deliver brilliant short-term shine, while polymer-enhanced formulas with UV inhibitors provide the best long-term protection. Here's how the main wax categories compare:
| Factor | Carnauba Paste Wax | Synthetic Polymer Wax | Hybrid (Carnauba + Polymer) |
|---|---|---|---|
| Durability | 4-6 weeks | 6-10 weeks | 6-8 weeks |
| UV Protection | Moderate | High | High |
| Gloss Quality | Warm, deep shine | Clean, reflective | Warm with lasting clarity |
| Ease of Application | Moderate (hand or machine) | Easy (spreads thin) | Easy to moderate |
| Cost per Application | $30-60 | $40-80 | $40-70 |
| Best For | Show-quality finish, weekend boaters | Extended season, southern waters | All-around seasonal protection |
| Reapplication Frequency | Every 4-6 weeks on water | Every 6-10 weeks | Every 6-8 weeks |
Smooth Opacity UV falls into the hybrid category, combining carnauba depth with UV-inhibiting polymers for seasonal boaters who want both appearance and protection.
Marine wax creates a sacrificial barrier between gelcoat and the environment by depositing natural or blended carnauba and polymer solids into the micro-pores of fiberglass surfaces. According to the International Institute of Marine Surveying, UV radiation is the primary cause of gelcoat oxidation on recreational vessels, breaking down the polyester resin matrix and producing the chalky white appearance boat owners recognize as fade. A spring wax application absorbs this UV energy at the wax layer rather than the gelcoat layer, slowing degradation by weeks or months depending on reapplication frequency. The wax also reduces surface friction, discouraging waterline scum adhesion and making wash-downs between uses faster and less abrasive to the finish. For boats in southern US waters with high UV index ratings, this barrier is not cosmetic but structural maintenance.
When Should You Wax Your Boat Before Launch?
Timing matters more than most people think. I tell my clients: wax 2-4 weeks before your target launch date.
Here's why that window works:
Too early (6+ weeks out) and your fresh wax sits in a dusty boatyard collecting pollen, bird droppings, and UV damage before it ever touches water. You've burned through protection before the season starts.
Too late (days before splash) and you're rushing. Rushed prep means skipping the clay bar step, working in bad light, or waxing over contamination. I've seen boat owners slap wax on a dirty hull at 4 PM the day before launch. By July, that wax has failed and the gelcoat underneath looks worse than if they'd done nothing.
The sweet spot is 2-4 weeks. You have time to wash the hull properly, assess whether you need to compound out any oxidation first, apply wax in good conditions, and add a second coat a few days later. If rain delays you, you've got margin.
Watch your local forecast. You need a stretch of dry days with temperatures between 60°F and 80°F. Wax won't bond well below 50°F, and above 85°F it flash-dries on the surface before you can work it.
Why Can't You Wax Over a Dirty Hull?
This is the mistake I correct most often. A boat owner washes the hull with a hose, thinks it looks clean, and starts waxing. Under my inspection light, that "clean" hull is covered in bonded contamination: rail dust, industrial fallout, mineral deposits, tree sap residue, and waterline chemicals from the previous season.
Wax does not clean. Wax seals. If you wax over contamination, you seal that contamination against the gelcoat. The finish looks acceptable for a week, then the trapped particles work into the surface as the wax wears. You end up with staining that requires machine compounding to fix.
What Is the Correct Wash-Clay-Wax Sequence?
My prep sequence for every spring detail:
Step 1: Rinse. Hose down the entire hull to remove loose dirt, cobwebs, and debris. Top to bottom, working gravity in your favor.
Step 2: Two-bucket wash. One bucket with Boat Wash Pro solution, one with clean rinse water. Use a soft wash mitt. Work in 3-foot sections, rinsing the mitt in the clean bucket before reloading with soap. This prevents dragging grit across the gelcoat.
Step 3: Dry. Use a waffle-weave microfiber drying towel or a forced-air blower. Water spots on a hull are mineral deposits. If your marina water is hard, dry the hull fast.
Step 4: Clay bar. Spray a clay lubricant on a 2-foot section and glide the clay bar across the surface. You'll feel the contamination as resistance under the clay. Keep folding the clay to expose fresh material. When the bar glides freely, that panel is clean.
Step 5: Inspect. Run your hand across the clayed surface inside a plastic sandwich bag. The bag amplifies texture. If it feels glassy smooth, you're ready for wax. If you feel roughness, clay that section again.
Step 6: Wax. Now, and only now.
For boats with visible oxidation (chalky, faded patches), you'll need to add a compounding or polishing step between clay and wax. Our spring gelcoat restoration guide walks through every severity level, and for general oxidation removal techniques, see the oxidation guide.
Clay bar decontamination removes bonded surface particles that washing alone cannot displace. Bonded ferrous contamination on marine gelcoat surfaces significantly reduces the adhesion effectiveness of subsequently applied wax compared to surfaces that have been mechanically decontaminated prior to wax application. The clay bar works through mild mechanical abrasion: the engineered clay compound grabs embedded particles and pulls them from the gelcoat pores as the bar is drawn across the lubricated surface. This step adds 30-60 minutes to a full hull detail but determines whether the wax coat bonds uniformly or fails in patches. Professional detailers consider clay bar treatment a non-negotiable step in pre-season preparation because skipping it produces results that deteriorate within weeks rather than holding for the expected 4-8 week cycle.
How Should You Apply Spring Boat Wax?
Hand Application or Machine?
Both work. The difference is time and consistency.
Hand application uses a foam applicator pad. You apply a thin, even layer of wax in straight overlapping passes, let it haze (turn matte), then buff off with a clean microfiber towel. Hand application gives you control in tight areas: around cleats, along rub rails, near waterline tape. On a 25-foot boat, expect 3-4 hours for a single coat.
Machine application uses a dual-action (DA) polisher with a finishing pad. The machine spreads wax more evenly and works it into the gelcoat with consistent pressure. It cuts application time roughly in half. On the same 25-foot boat, a single coat takes 1.5-2 hours by machine.
I use a DA polisher for flat hull panels and topsides, then switch to hand application around hardware and compound curves. This hybrid approach is how most professional shops work.
What Temperature and Conditions Do You Need?
- Surface temperature: 60°F-80°F. Use an infrared thermometer on the gelcoat, not the air temperature.
- Shade required. Direct sunlight on a white hull can push surface temps above 120°F. Wax bakes on instead of hazing properly.
- Low humidity preferred. High humidity slows haze time and can cause streaking.
- No wind. Wind deposits dust on wet wax. If it's breezy, work one small section at a time and buff immediately.
What Does the Panel-by-Panel Method Look Like?
Never wax an entire hull side at once. The wax at the bow will over-cure while you're still applying at the stern.
Work in panels of roughly 2 feet by 2 feet. Apply wax to one panel. Move to the next panel and apply. Then return to the first panel and buff. This rotation gives each section 3-5 minutes of haze time, which is the window for most carnauba-blend waxes including Smooth Opacity UV.
If you let wax sit too long, it bonds hard and becomes difficult to remove without a machine. If you buff too soon, you're wiping off product that hasn't cured. The haze tells you when to act: when the surface turns uniformly matte, it's ready.
What Are the Most Common Waxing Mistakes?
After fifteen years, I've compiled a short list of errors I see repeatedly:
-
Too much product. A thin coat outperforms a thick one. Excess wax doesn't bond; it sits on top and becomes difficult to buff. A pea-sized amount covers a 2x2-foot panel.
-
Circular buffing motions. Circles create swirl marks visible under direct light. Use straight, overlapping passes for both application and removal.
-
Dirty buffing towels. A microfiber towel that's picked up grit from the ground or a dirty surface will scratch the gelcoat during buffing. Use fresh towels and keep spares in a sealed bag.
-
Waxing over trim and rubber. Wax leaves white residue on black trim, rubber seals, and non-skid surfaces. Tape off these areas or use a trim-safe applicator. Removing dried wax from textured non-skid is a miserable job.
-
Skipping the waterline. The boot stripe and waterline area take the most environmental abuse. Many people wax the topsides and ignore this zone. Give it the same treatment.
How Many Coats of Wax Does a Boat Need?
Two. That's my standard recommendation, and here's the reasoning.
First coat: Fills the micro-pores in the gelcoat surface. This coat does the heavy lifting, creating the initial barrier. After buffing, you'll see improved gloss and water beading.
Second coat: Builds on the first. Because the pores are already filled, the second coat creates a smoother, more uniform surface layer. Gloss improves noticeably. Water sheeting becomes tighter. UV protection increases because you've doubled the sacrificial material.
Third coat: Marginal gains. On a well-maintained hull, a third coat adds perhaps 5-10% more gloss and a few extra days of protection. On a neglected hull with deep pores, a third coat can help, but at that point you likely need compounding rather than more wax.
I apply the second coat 24-48 hours after the first. This lets the initial coat fully cure. Some weekend detailers apply both coats in one day, which works but doesn't produce the same bond quality.
For my business clients paying premium rates, I apply two coats of Smooth Opacity UV as standard. Three coats go on competition boats and yachts heading to boat shows. For a personal boat maintained each season, two coats are the right balance of effort and result.
How Do You Maintain Wax Through the Boating Season?
A wax job isn't a set-and-forget treatment. On the water, your hull faces salt spray, UV exposure, dock rash, fuel residue, and biological growth. Even a quality spring boat wax degrades over weeks.
Here's my maintenance schedule for clients:
After every use: Rinse the hull with fresh water. Salt crystals left on a waxed surface act as tiny lenses, concentrating UV energy and accelerating wax breakdown. A 10-minute freshwater rinse extends your wax life by weeks.
Every 2-3 weeks: Wash with a wax-safe soap (Boat Wash Pro is pH-neutral and won't strip protection). Dry with a microfiber towel. Inspect the wax by spraying water on the hull: tight beading means the wax is holding. Flat sheeting or no beading means it's time to reapply.
Monthly (high-use boats): Apply a spray wax or quick detailer to the topsides as a booster coat. This adds a thin refresh layer without requiring full prep. It takes 20 minutes on a 25-foot boat and extends the base coat's life.
Mid-season (July for spring launchers): Consider a full rewax of the topsides. By mid-summer, even well-maintained wax has given most of its protection. A mid-season touch-up keeps the hull protected through fall haul-out.
Wax longevity on marine surfaces depends on three primary environmental factors: UV exposure intensity, saltwater contact frequency, and mechanical abrasion from docking and wash-downs. Marine industry best practices recommend that boat owners in southern US waters reapply topside wax protection every 4-6 weeks during active use, while boats in northern freshwater environments may extend intervals to 8-10 weeks. Monitoring water bead behavior provides the most reliable field indicator of remaining wax coverage. When water no longer forms distinct beads on the surface and instead sheets flat or absorbs into the gelcoat, the sacrificial wax layer has been consumed and the underlying gelcoat is exposed to direct UV and chemical degradation. Regular post-use freshwater rinsing remains the single most effective habit for prolonging any wax application.
When Is Wax Not Enough?
Wax works well for seasonal boaters who maintain their hulls and don't mind reapplying every few weeks. But I have clients for whom wax isn't the right answer:
Live-aboard boats: Constant water exposure and daily UV break down wax faster than owners can reapply. A synthetic sealant like GRP Sealer UV lasts 4-6 months and holds up under sustained environmental load.
Charter boats and rental fleets: These hulls see heavy use, inconsistent care, and frequent wash-downs with whatever soap is on the dock. Sealants tolerate rough treatment better. Wax on a charter boat is gone inside two weeks.
Boats with moderate oxidation: If your gelcoat has started chalking but isn't far gone, compounding followed by sealant locks in the correction longer than wax can. Wax over lightly oxidized gelcoat starts looking dull again within a month.
Owners who want less maintenance: Some clients tell me straight: they don't want to think about wax until next spring. For these boats, I recommend a full machine polish followed by GRP Sealer UV. It won't match the warm depth of a fresh carnauba coat, but it holds for months with minimal attention.
The upgrade path looks like this: start with wax, learn your boat's surface needs, and move to sealant or ceramic when your usage pattern demands it. There's no shame in wax. I still use Smooth Opacity UV on my own boat's topsides because I enjoy the process and the look of fresh carnauba under dock lights.
For a full comparison of protection options matched to your boat's needs, see our UV protection guide.
Frequently Asked Questions
How long before launch should I wax my boat?
Aim for 2-4 weeks before your target splash date. This gives you time for thorough surface prep, two coats with proper cure time between them, and a weather buffer. Waxing months in advance wastes protection on boatyard exposure. Waxing the day before launch means rushing through prep steps that determine how long the wax holds.
Can I wax my boat in direct sunlight?
No. Direct sun heats gelcoat well above air temperature, causing wax to flash-dry before you can buff it properly. The result is hazy streaks, uneven coverage, and wasted product. Work in shade or under a portable canopy, and check the surface temperature with an infrared thermometer. Keep it between 60°F and 80°F.
How many coats of wax does my boat need?
Two coats deliver the best return on effort. The first coat fills gelcoat micro-pores and creates the initial barrier. The second coat builds a smoother, more uniform surface that lasts longer and beads water tighter. A third coat produces marginal improvement on well-maintained hulls and is only worth the time on show boats or heavily porous surfaces.
What is the difference between marine wax and synthetic sealant?
Marine wax uses carnauba or carnauba-polymer blends that sit on the gelcoat surface, providing 4-8 weeks of UV protection and a warm, deep gloss. Synthetic sealants use engineered polymers that form a chemical bond with the gelcoat, lasting 4-6 months with a cleaner, more reflective shine. Wax is easier to apply and remove. Sealant is harder to apply evenly but requires far less frequent maintenance. Many detailers, myself included, use wax on topsides for appearance and sealant on hull sides below the waterline for durability.
How often should you wax a boat?
Most boats need waxing at least twice per year — once in spring before launch and once mid-season. Boats in southern saltwater environments with high UV exposure may need topside wax refreshed every 4-6 weeks during active use. According to BoatUS, applying a good boat wax at least once per year helps prevent contaminants from adhering to the boat. The simplest test: spray water on the hull. If it forms tight beads, the wax is holding. If it sheets flat, it's time to reapply.
Can you use car wax on a boat?
Technically, a carnauba-based car wax will bond to gelcoat. But car wax is formulated for automotive clear coat, which is harder than marine gelcoat and faces less UV and saltwater exposure. Marine wax contains UV inhibitors and salt-resistance additives that car wax lacks. On a boat in southern waters, car wax may last only 2-3 weeks versus 6-8 weeks for a quality marine wax. Save the car wax for your car.
Should you wax a boat wet or dry?
Always dry. Water trapped between the wax and gelcoat prevents proper adhesion, leading to streaky coverage and premature failure. After washing, dry the hull completely with a waffle-weave microfiber towel or forced-air blower. If you're working outdoors and dew forms, wipe each section dry immediately before applying wax.
How long should boat wax dry before buffing?
Most carnauba-blend marine waxes need 3-5 minutes of haze time before buffing. The wax is ready when it turns uniformly matte on the surface. Buffing too soon wipes away uncured product. Waiting too long — more than 15-20 minutes in warm conditions — allows the wax to bond hard, requiring machine correction to remove. Work in small panels and rotate back to buff each one within the window.
Is paste wax or liquid wax better for boats?
Paste wax generally outperforms liquid wax for durability on marine gelcoat. According to Practical Sailor product testing, polymer-enhanced formulas with UV inhibitors provide the best long-term protection, while high-carnauba formulas deliver the best short-term shine. Liquid wax is easier to apply and works well for maintenance coats, but for your primary spring application, a paste or hybrid wax delivers a thicker, longer-lasting barrier.
Should you wax below the waterline?
Generally no. Boats with anti-fouling bottom paint should not be waxed below the waterline because wax can interfere with the paint's biocide-release mechanism. However, the boot stripe and waterline transition zone — the area that takes the most abuse from scum, minerals, and UV — should be waxed as part of your topside treatment. On boats without bottom paint (trailer boats kept out of the water), waxing the entire hull is fine.
What is the best temperature for waxing a boat?
Keep the gelcoat surface between 60°F and 80°F. Below 50°F, wax won't bond properly to the surface. Above 85°F, it flash-dries before you can buff it, leaving hazy streaks. Always measure with an infrared thermometer pointed at the hull, not an air temperature reading — a white hull in direct sun can be 30-40°F hotter than the ambient air. Work in shade, and schedule your waxing for early morning or overcast days.
Sarah Rodriguez has operated a marine detailing business in coastal Virginia since 2011. She details 200+ boats per season and is a certified marine paint correction specialist.
About the Expert

Sarah Rodriguez
Marine Detailing Business Owner
Sarah runs a marine detailing business serving luxury yachts and charter fleets. Her reputation rides on every finish, so she only uses products and techniques she'd stake her name on.
“Your boat is my billboard. I don't do 'good enough.'”
Get Expert Tips
Subscribe for marine care insights and product updates from industry professionals.
No spam. Unsubscribe anytime.
You May Also Like
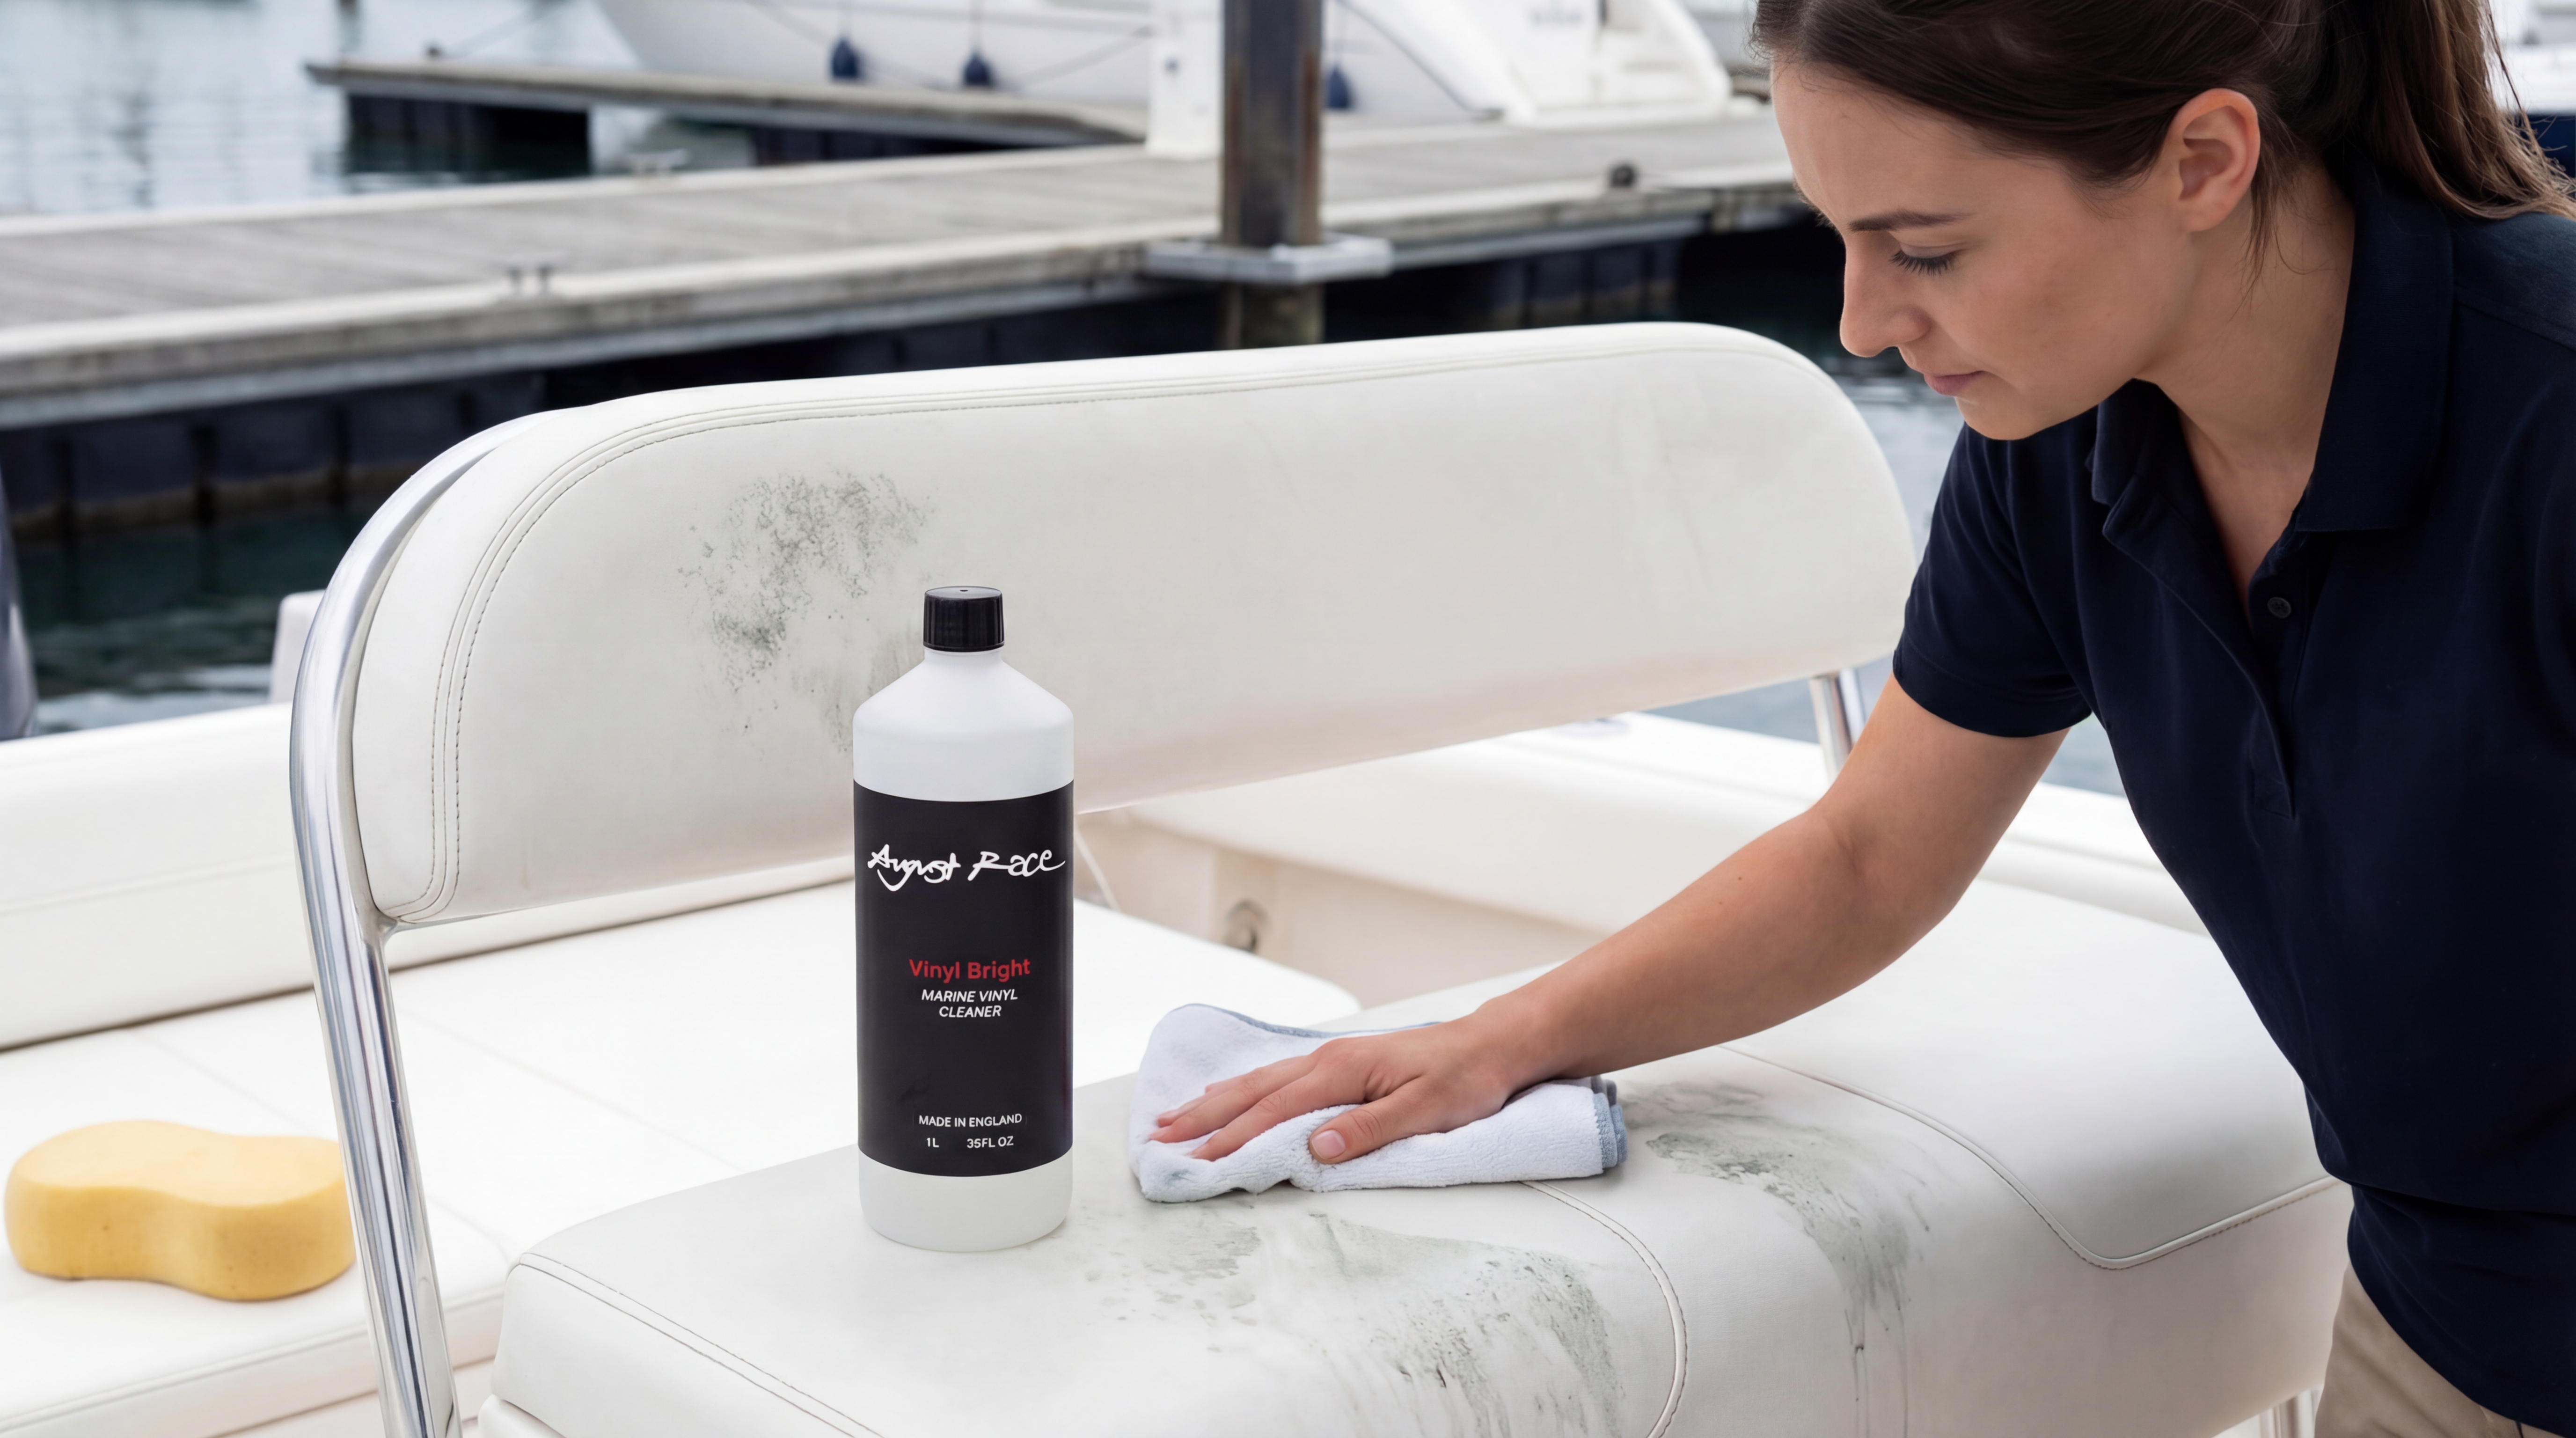
Spring Vinyl and Upholstery Cleaning: How to Remove Winter Mildew from Boat Seats
A professional detailer's step-by-step guide to removing winter mildew from marine vinyl seats, protecting upholstery after cleaning, and preventing mildew from returning next season.
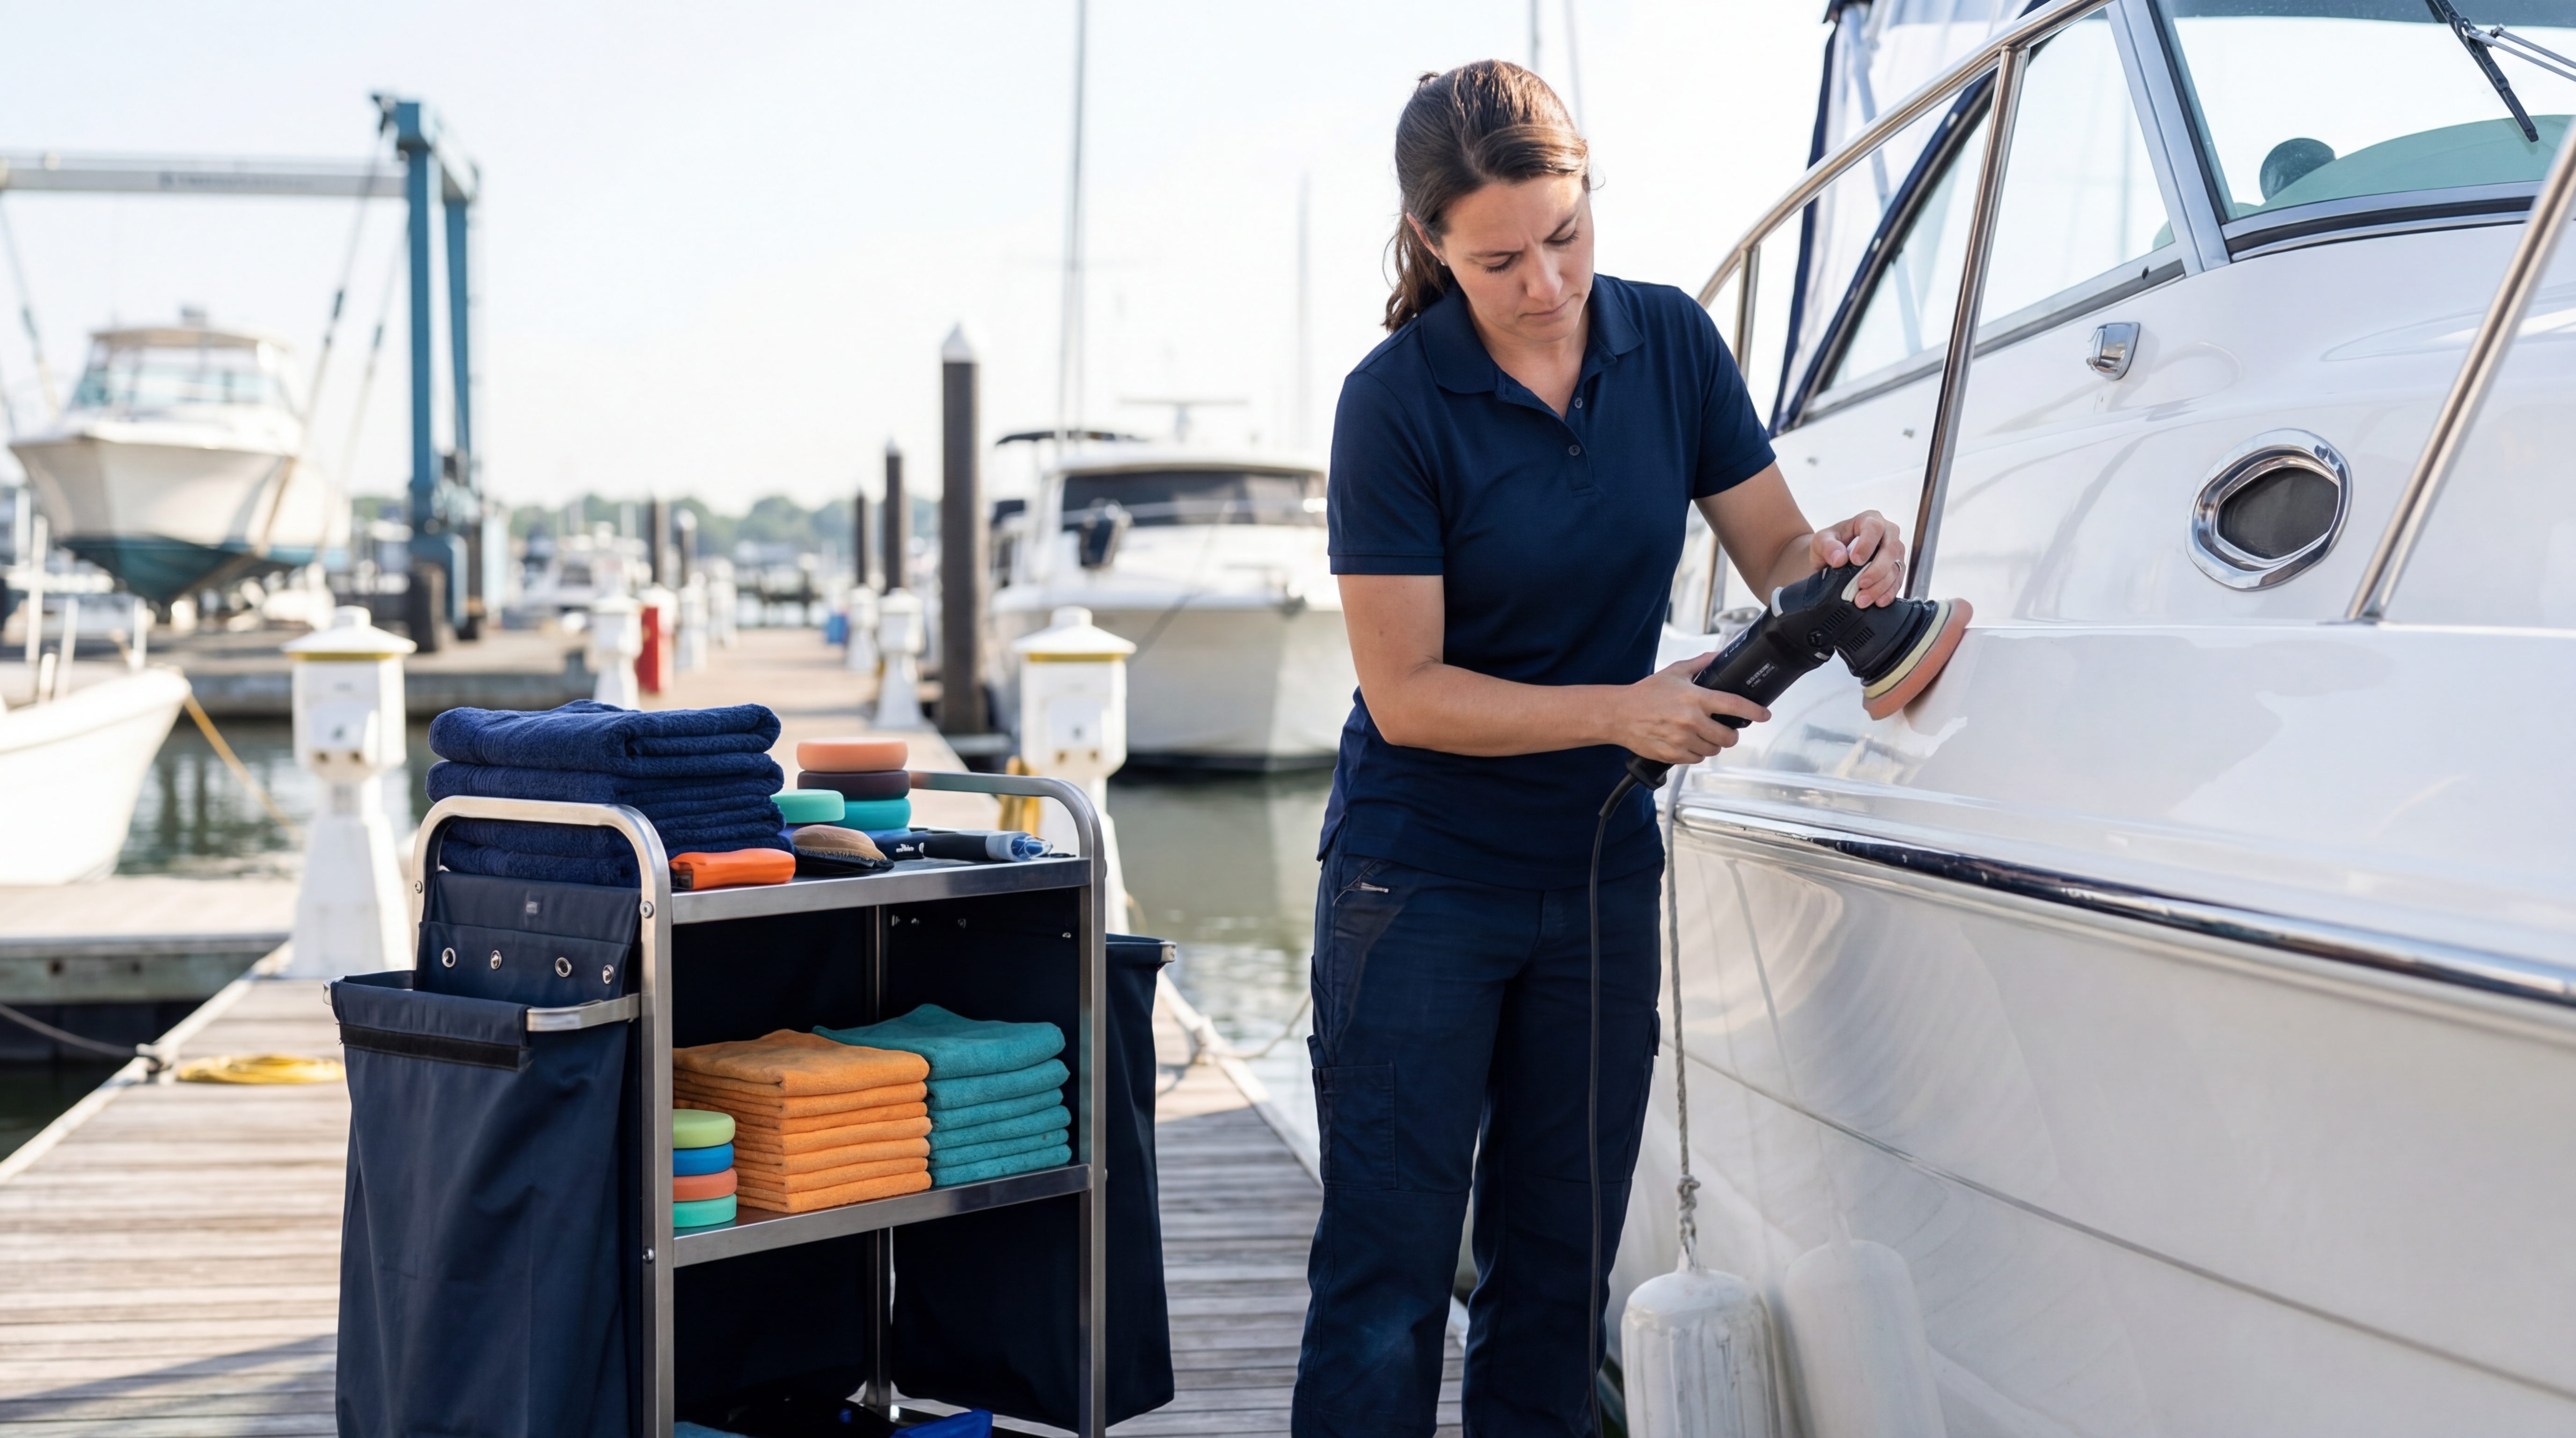
The Professional's Spring Boat Detailing Workflow: An 8-Phase System
A professional marine detailer breaks down her exact 8-phase spring detailing workflow, from decontamination wash through final inspection, with time estimates and product recommendations.
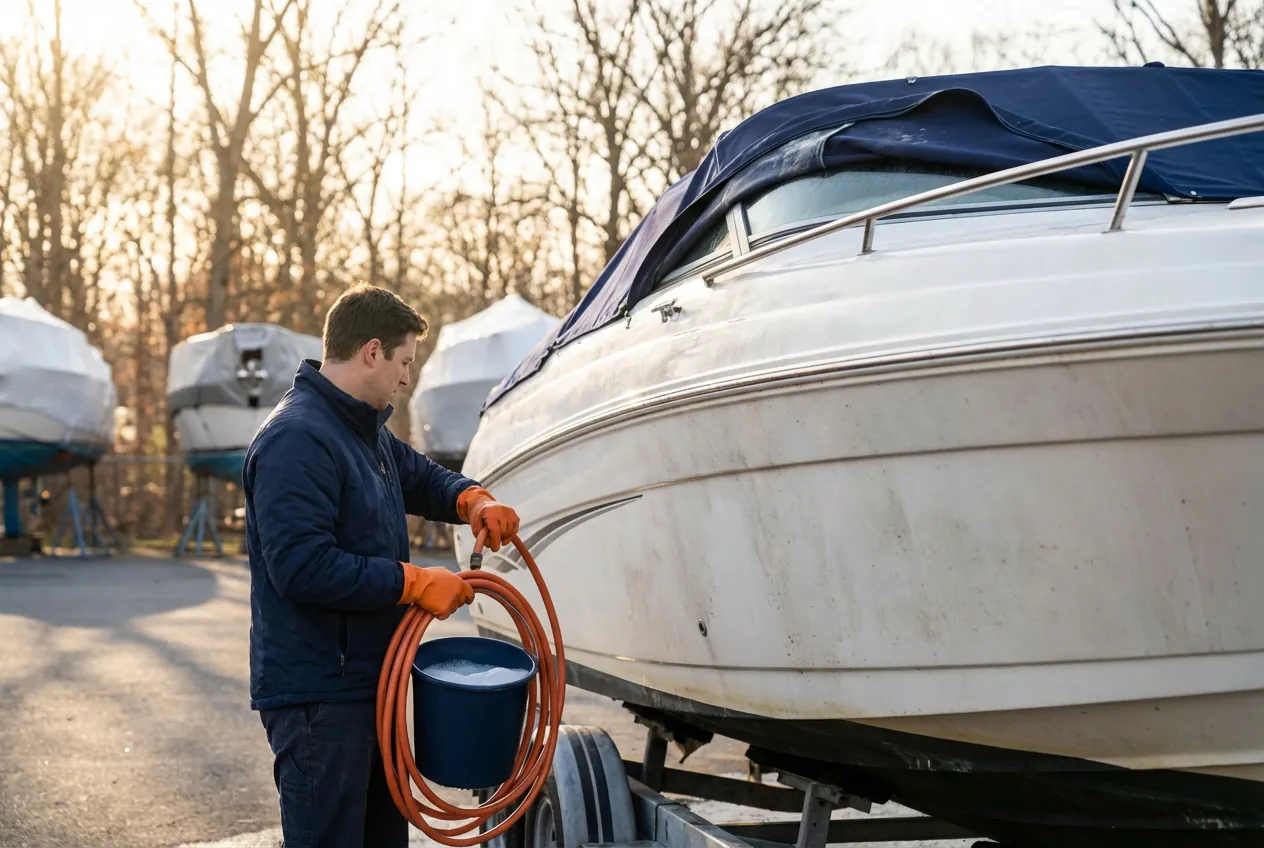
How to Clean Your Boat After Winter Storage
A marina manager's step-by-step guide to cleaning your boat after winter storage, covering exterior wash, interior mildew removal, and the mistakes that cause real damage every spring.